5 Tips For High-Quality Meeting Recordings

We all know good notes are essential for maintaining the momentum of meetings. Without a good record, it’s possible to lose or forget decisions and actions. Decent notes help to ensure you don’t waste the time you spend in meetings.
However, it can be challenging to take notes if you’re actively trying to participate in a meeting. Everyone taking their own notes is unlikely to be the most efficient (or accurate) approach either. Asking for volunteer notetakers is an option, but you might not get the flurry of enthusiasm you’re hoping for.
So, what are the alternatives? Recording your meetings can provide a useful resource for you to reference. Alternatively, you can transcribe your meetings and create an easy-to reference text version.
Listening back to a full recording can be time-consuming, whereas a transcript or minutes provide a quicker way to review and search for relevant information.
Whether you need a full verbatim version of the meeting, an Intelligent Verbatim output that removes irrelevant off-topic chit-chat, or meeting minutes detailing the key discussion points, decisions and actions, a high-quality audio recording is an essential starting point.
Poor-quality audio makes transcription challenging and can lead to some elements being impossible for the transcriber to decipher.
Here are our top 5 practical tips to ensure you gain a high-quality recording for meeting organizers.
1. Invest in a quality recording device
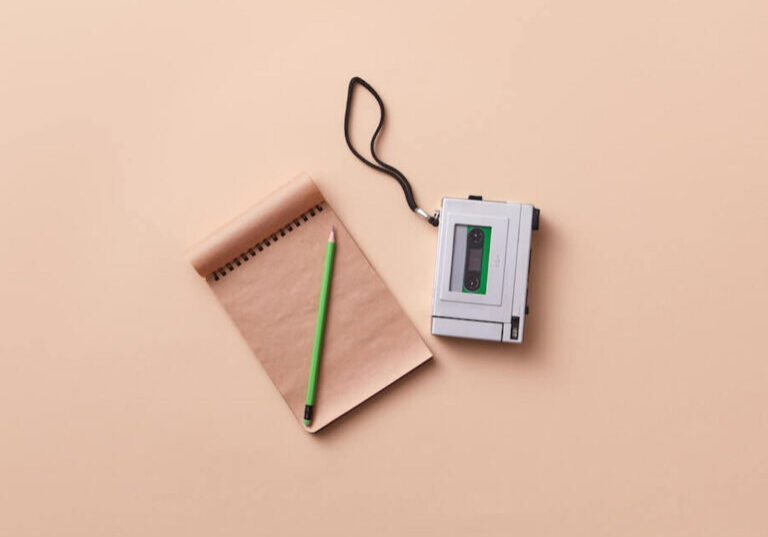
All smartphones have a voice recorder option but we’d recommend investing in a voice recorder to help capture high-quality audio (or record video). Smartphone mics tend not to be the best and a voice recorder will deliver a superior output, particularly for larger meetings with multiple attendees.
Some things to consider:
- Battery life – ensure the device has enough power to last the duration of your meetings
- Storage – running out of storage on a device before a recording is saved can be very frustrating. Consider the best options for your use case. Some devices may require you to purchase a separate memory card.
- Easy to use – if the device is going to be used successfully by multiple people, simplicity is key, especially if you have individuals who are less comfortable with technology.
- Portability – if you’re looking for a device that can cater for off-site and on-site meetings you may also want to consider the size and weight.
Also, don’t forget to test it out! (see point 5)
If you’re concerned, it may also be worth having a backup device, in case of any pesky technical issues.
2. Adopt good meeting etiquette
You might find people naturally do this anyway. However, a gentle reminder to attendees to mind their manners is a great way to increase the quality of your recording. Meeting participants talking over each other and multiple conversations happening at once can play havoc with a recording, and aren’t great for your meeting either!
A simple reminder at the beginning of the session that it will be recorded and of the basic ‘rules’ can work wonders.
Getting people to briefly introduce themselves at the beginning of the meeting can also be beneficial for the transcriber so that they can pick out the individual contributors throughout the session.
3. Angle the mic
Typically it’s best to have the recording device positioned centrally in the room to capture contributions from everyone present and to ensure you can hear everyone equally.
However, if part of your meeting includes someone presenting, consider angling the mic towards them for the duration of their input. Having to continuously move the mic throughout a meeting isn’t practical, but factoring this in once or twice can help to achieve a higher-quality recording.
Ask people to speak towards the mic where possible, like you would if someone had dialed in, particularly in larger rooms.
4. Be aware of background noise
Meetings can generate a lot of noise outside of the key discussions – people grabbing refreshments, people going in and out of the room, cell phones, the shuffling of papers, scraping of chairs, the list goes on.
It’s not practical to stop all of these sounds but you can minimize the impact they’ll have on the recording.
- Having regular breaks, particularly for long meetings can help to reduce interruptions at other times.
- Reminding people to pause if there is a lot of noise to ensure they can be heard well (both by the recording device and the other people in the meeting).
- Editing software may be able to help ‘clean’ your audio and reduce some of the background noise. However, we’d recommend aiming to reduce this as much as possible initially rather than relying on software as results can vary.
5. Testing, testing, 1,2,3
Carrying out a test run in the planned meeting room can help you spot any issues and rectify them before the real meeting or session.
- Check that the recording device can pick up speech from around the room.
- Determine the best place for the recording device.
- Identify any spots that pose a challenge and avoid seating people in those locations where possible.
- Listen out for any background noise that you weren’t expecting and try to minimize it as much as possible.
Trying to accurately capture all the relevant information is a bit of an art form. Our professional transcribers can work wonders with your high-quality recording to ensure you receive an accurate reflection of your session, whether you opt for a full verbatim transcript, meeting minutes or Intelligent Verbatim – where off-topic chit chat is removed.

